Are you ready to impress your family and friends with a stunning dessert? Vanilla Bean Crème Brûlée is the perfect choice! This easy and elegant treat combines rich flavors and a delightful texture. In this guide, I’ll share step-by-step instructions, essential tips, and even some tasty variations. Whether you’re a beginner or an experienced cook, you’ll learn how to create this delightful dish that is sure to wow everyone. Let’s dive in!
Why I Love This Recipe
- Rich Flavor: This crème brûlée is infused with real vanilla bean, giving it a rich, aromatic flavor that is simply irresistible.
- Elegant Presentation: With its glossy caramelized top and creamy custard beneath, this dessert is a showstopper for any occasion.
- Perfectly Creamy: The combination of heavy cream and egg yolks creates a luxuriously smooth texture that melts in your mouth.
- Fun to Make: Caramelizing the sugar with a kitchen torch is not only fun but also adds a satisfying element to the dessert-making process.
Ingredients
Complete List of Ingredients
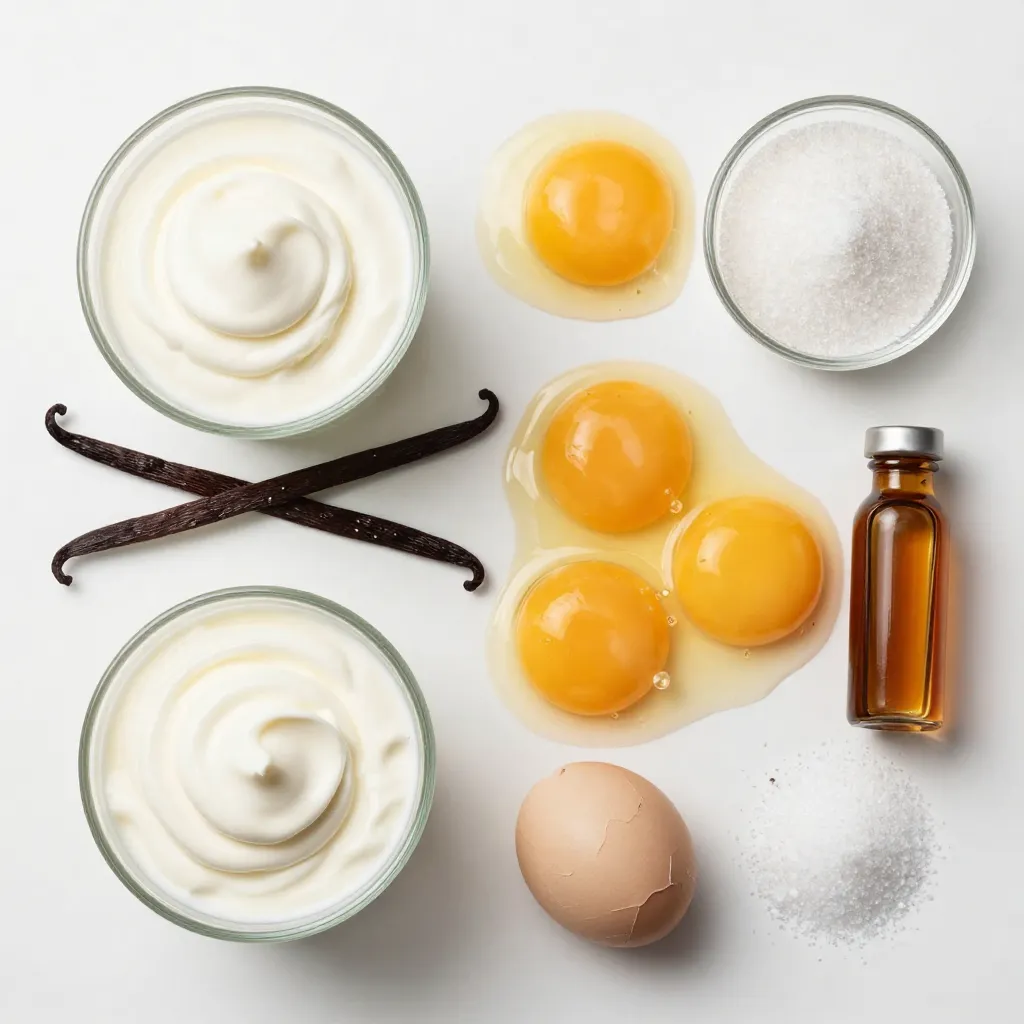
To make a delicious vanilla bean crème brûlée, gather these simple ingredients:
– 2 cups heavy cream
– 1 vanilla bean (split and seeds scraped)
– 4 large egg yolks
– 1/2 cup granulated sugar (plus extra for caramelizing)
– 1 teaspoon pure vanilla extract
– Pinch of salt
Ingredient Substitutions
You can swap some ingredients based on what you have. Here are some options:
– Heavy cream: Use half-and-half or coconut cream for a lighter version.
– Vanilla bean: Substitute with 2 teaspoons of vanilla extract.
– Granulated sugar: Use brown sugar for a richer flavor.
– Egg yolks: Try silken tofu for a vegan option.
Measuring Tips
Accurate measuring helps create the best crème brûlée:
– Cream: Use a liquid measuring cup for precision.
– Sugar: Level off the sugar with a straight edge for accuracy.
– Egg yolks: Crack eggs into a bowl first to avoid shell bits.
– Vanilla bean: Scrape seeds using the back of a knife for maximum flavor.
Follow these tips to ensure success in your dessert-making!
Step-by-Step Instructions
Prepping the Oven and Equipment
First, preheat your oven to 325°F (160°C). This step warms your oven for even baking. Next, gather your ramekins and a baking dish. You will need four ramekins for this recipe. Place them in the baking dish before adding water. This setup helps the custard cook slowly and evenly.
Infusing the Cream and Preparing the Egg Mixture
In a medium saucepan, pour 2 cups of heavy cream. Add the seeds from the vanilla bean and the empty pod. Don’t forget the pinch of salt! Heat the mixture over medium heat. Stir it gently until you see a gentle simmer. Remove it from the heat. Allow it to steep for about 15 minutes. This step adds a deep vanilla flavor.
While the cream cools, whisk together 4 egg yolks and 1/2 cup of granulated sugar in a mixing bowl. You want the mixture to turn pale yellow and thick. This should take about 2-3 minutes. Next, remove the vanilla pod from the cream. Slowly pour the warm cream into the egg mixture. Whisk continuously during this process. This method is called tempering. It keeps the yolks from cooking too fast.
Then, stir in 1 teaspoon of pure vanilla extract. This extra touch enhances the flavor. To make your custard smooth, strain it through a fine-mesh sieve into a pitcher or bowl. This step gets rid of lumps and ensures a silky texture.
Baking and Chilling the Crème Brûlée
Now, evenly divide the custard mixture among your ramekins. Place them in the baking dish and add hot water. The water should reach halfway up the sides of the ramekins. This water bath helps cook the custard gently, avoiding cracks.
Carefully place the baking dish in the preheated oven. Bake for 30-35 minutes. The edges should be set, but the centers should jiggle slightly. This indicates they are done. After baking, take the ramekins out of the water bath. Let them cool to room temperature. Once cool, cover with plastic wrap and refrigerate for at least 2 hours. This chilling time helps the flavors develop and firms up the custard.
When you’re ready to serve, sprinkle a thin layer of granulated sugar over each custard. Using a kitchen torch, caramelize the sugar until it turns golden brown. Wait about a minute before serving. The contrast of the warm, crisp top and the smooth custard is truly delightful!
Tips & Tricks
Achieving the Perfect Texture
To get a smooth and creamy crème brûlée, follow these steps. First, use fresh heavy cream. The richer the cream, the better the texture. When you heat the cream, avoid boiling it. A gentle simmer works best. After simmering, steep the vanilla bean for at least 15 minutes. This step adds depth to the flavor. When mixing egg yolks and sugar, whisk until pale and thick. This will help create a light texture. Finally, strain the mixture to remove lumps. This ensures your custard is silky.
Caramelizing Sugar Effectively
Caramelizing the sugar is the key to that perfect crunchy top. First, sprinkle a thin layer of sugar over the chilled custard. Use granulated sugar for best results. A kitchen torch works best for caramelizing. Hold the torch a few inches above the sugar. Move it in small circles to melt the sugar evenly. Aim for a golden-brown color. If you don’t have a torch, you can use the broiler. Just watch closely, as it can burn quickly. Let it cool for a minute before serving.
Common Mistakes to Avoid
Here are some common mistakes to watch out for. First, don’t rush the cooling process. Let the custard chill for at least two hours. This helps it set properly. Second, avoid overcooking. The edges should be set, but the center should still jiggle. If you bake too long, the texture becomes grainy. Lastly, don’t skip the water bath. It helps to cook the custard gently and evenly. Following these tips will lead to a perfect crème brûlée every time.
Pro Tips
- Use Fresh Ingredients: Always opt for the freshest heavy cream and real vanilla bean for the richest flavor in your crème brûlée.
- Monitor Baking Time: Keep a close eye on the custards while they bake; overbaking can lead to a rubbery texture. They should be set with a slight jiggle in the center.
- Chill Thoroughly: Make sure to chill the custards for at least 2 hours. This step is crucial for achieving the perfect texture.
- Caramelize with Care: When using a kitchen torch, move it in a circular motion to evenly caramelize the sugar and avoid burning.
Variations
Flavor Variations (Chocolate, Coffee, Citrus)
You can easily change the flavor of your crème brûlée. Here are three tasty options:
– Chocolate: Add 4 ounces of chopped dark chocolate to the cream as it heats. Stir until melted. This makes a rich and decadent dessert.
– Coffee: Use 1 tablespoon of instant espresso or strong brewed coffee in place of some cream. This adds a nice coffee kick.
– Citrus: Add the zest of one orange or lemon to the cream. This gives a fresh and zesty flavor.
These variations keep your dessert exciting and fun!
Alternative Serving Suggestions
You can serve crème brûlée in different ways to impress your guests:
– Mini Jars: Use small glass jars for a cute presentation. These are perfect for individual servings.
– Tarts: Pour the custard into a pre-baked tart shell. This adds a nice crunch to the creamy filling.
– Parfaits: Layer the custard with fresh fruits and granola for a fun twist.
These ideas make your dessert stand out and taste great!
Dairy-Free or Vegan Options
If you want a dairy-free or vegan crème brûlée, you can still enjoy this treat:
– Coconut Cream: Use full-fat coconut cream instead of heavy cream. It gives a rich and creamy texture.
– Plant-Based Milk: Almond or oat milk works well. Just be sure to use a thicker version to mimic the creaminess.
– Aquafaba: Replace egg yolks with aquafaba, the liquid from chickpeas. Whip it up until it’s frothy for a fluffy custard.
These options let everyone enjoy crème brûlée, no matter their diet!
Storage Info
How to Store Leftovers
After enjoying your vanilla bean crème brûlée, store any leftovers in the fridge. Place plastic wrap over each ramekin. This keeps the custard fresh and prevents it from absorbing other odors. You can safely store it this way for up to three days.
Freezing Crème Brûlée
Freezing crème brûlée is not ideal. The texture changes, and it may become grainy. However, if you must freeze it, do so before caramelizing the sugar. Wrap the ramekins tightly in plastic wrap. Then, place them in an airtight container. You can freeze it for up to one month. When ready to eat, thaw it in the fridge overnight.
Shelf Life Tips
To enjoy the best flavor and texture, eat your crème brûlée within three days. If you freeze it, consume it within a month for the best results. Always check for any off smells or changes in texture before eating. Proper storage makes a big difference in your dessert’s quality.
FAQs
What is Crème Brûlée?
Crème brûlée is a classic French dessert. It features a rich custard base topped with a hard caramel shell. The name means “burnt cream,” referring to the caramelized sugar on top. This dessert is known for its creamy texture and sweet vanilla flavor. The combination of warm custard and cold caramel creates a delightful contrast. You enjoy it by cracking the caramel layer with a spoon.
Can I make Crème Brûlée ahead of time?
Yes, you can make crème brûlée ahead of time. In fact, it’s often better when prepared in advance. After baking, let the custard cool, then cover it with plastic wrap. Place it in the fridge for at least two hours. This allows the flavors to meld and the custard to set. You can also prepare it a day ahead. Just caramelize the sugar right before serving for the best texture.
How do I know when it’s done baking?
You can tell crème brûlée is done baking by checking its texture. After 30-35 minutes in the oven, the edges should be set. However, the center should still jiggle slightly when you shake the ramekin. This slight jiggle means the custard will firm up as it cools. If it’s too firm, you may have overbaked it. Always trust your eyes and a gentle shake!
You now have all you need to make the perfect crème brûlée. We covered key ingredients, how to prep, bake, and chill this dessert. I shared tips for great texture and how to avoid common mistakes. You can also explore fun flavor twists and serving ideas. Remember to store leftovers properly for the best taste. Making this treat can impress anyone at your next dinner. Embrace the joy of creating this classic dessert in your kitchen. Enjoy every bite of your homemade crème brûlé