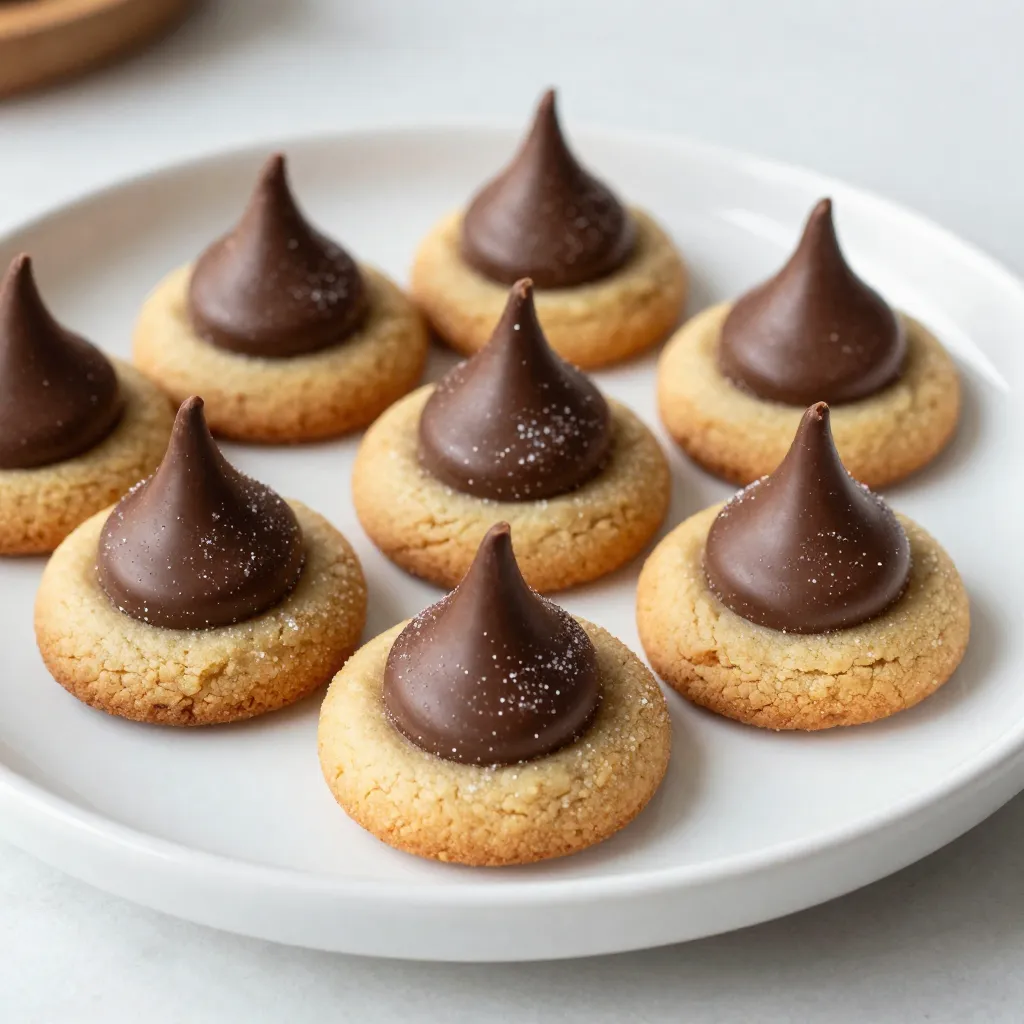
If you love peanut butter and chocolate, you need to try Peanut Butter Blossom Cookies. These sweet treats are soft, chewy, and topped with a chocolate kiss, making them hard to resist. In this post, I’ll share a simple recipe, smart tips, and fun variations to make your batch special. Ready to bake some magic? Let’s dive in and create a cookie that will delight your friends and family!
Why I Love This Recipe
- Simple Ingredients: This recipe requires just a handful of pantry staples, making it easy to whip up any time a craving strikes.
- Decadent Flavor: The combination of creamy peanut butter and rich chocolate creates a delightful contrast that is hard to resist.
- Fun to Make: Rolling the dough and pressing in the chocolate kisses adds a playful element to the baking process.
- Perfect for Sharing: With 24 cookies in one batch, these treats are perfect for gatherings, parties, or simply to share with friends and family.
Ingredients
Comprehensive List of Ingredients
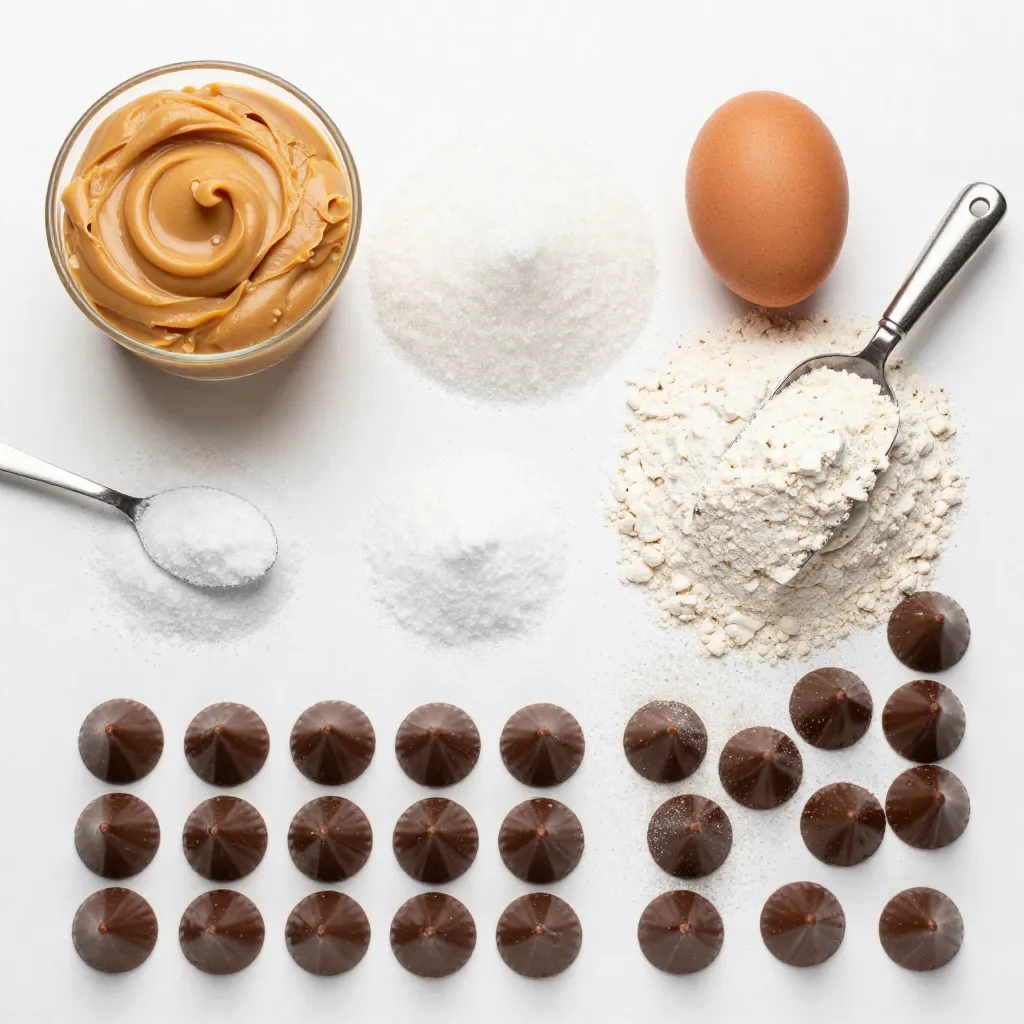
To make these Peanut Butter Blossom Cookies, you need the following ingredients:
– 1 cup creamy peanut butter
– 1 cup granulated sugar
– 1 large egg
– 1 teaspoon vanilla extract
– 1 cup all-purpose flour
– 1 teaspoon baking soda
– ¼ teaspoon salt
– 24 milk chocolate kisses, unwrapped
– Extra granulated sugar for rolling
Each item plays a key role in creating a sweet, nutty, and chocolatey treat. The peanut butter gives it a rich flavor, while the chocolate kiss adds a fun twist.
Substitutions for Dietary Restrictions
You can adjust these ingredients for different diets. For a gluten-free version, swap the all-purpose flour with a gluten-free blend. If you need a nut-free cookie, use sun butter instead of peanut butter. You can also try dairy-free chocolate kisses to make this treat suitable for vegans.
Measuring Tips for Accuracy
Accurate measuring is crucial for perfect cookies. Here are some tips:
– Use a dry measuring cup for the flour and sugar.
– Spoon the flour into the cup, then level it with a knife. Avoid packing it down.
– For peanut butter, use a liquid measuring cup for ease.
– Always scoop the sugar lightly to avoid clumps.
These tips help ensure your cookies turn out just right, so don’t skip them!
Step-by-Step Instructions
Prepping the Oven and Baking Sheet
Start by preheating your oven to 350°F (175°C). This step helps the cookies bake evenly. While the oven heats up, grab a baking sheet. Line it with parchment paper. This will keep your cookies from sticking. You want them to come off the sheet easily.
Mixing the Peanut Butter Dough
In a large mixing bowl, add 1 cup of creamy peanut butter and 1 cup of granulated sugar. Mix them well until they look smooth. Next, crack in 1 large egg and pour in 1 teaspoon of vanilla extract. Stir again until everything blends together nicely. In another bowl, whisk together 1 cup of all-purpose flour, 1 teaspoon of baking soda, and ¼ teaspoon of salt. This dry mix helps give your cookies a good rise. Slowly add this to the peanut butter mix. Stir until just combined. Be careful not to overmix, as this can change the texture.
Rolling and Baking the Cookies
Now comes the fun part! With clean hands, scoop about 1 tablespoon of dough. Roll it into a smooth ball. Then, roll the ball in extra granulated sugar until it is fully coated. Place these sugar-coated balls on your prepared baking sheet. Make sure to leave about 2 inches between each ball. This space allows the cookies to spread while baking. Bake them in your preheated oven for 10-12 minutes. Look for lightly golden edges. When they are done, take them out and press a milk chocolate kiss into the center of each cookie. The heat will make it melt slightly. Let your cookies cool on the baking sheet for about 5 minutes. Then, transfer them to a wire rack to cool completely. Enjoy the sweet aroma filling your kitchen!
Tips & Tricks
How to Achieve the Perfect Cookie Texture
To get the best cookie texture, follow a few simple steps. First, use creamy peanut butter for a smooth mix. Next, combine the sugar and peanut butter until it’s creamy. This helps create a soft cookie. When adding flour, mix just until it’s combined. Overmixing can make them tough. Bake until the edges are golden. This gives a perfect chewy center.
Common Mistakes to Avoid
Watch out for these common mistakes. Don’t skip the parchment paper. It keeps cookies from sticking and helps them bake evenly. Be sure to space the dough balls well. If they are too close, they will merge into one big cookie. Also, press the chocolate kiss down right after baking. If you wait too long, it won’t melt into the cookie.
Best Practices for Working with Chocolate Kisses
Handling chocolate kisses is easy with a few tips. First, unwrap them before you start baking. This saves time and keeps the process smooth. When you press the kisses into the cookies, do it gently. This lets the chocolate melt just enough to stick. If you want to get creative, try using different types of chocolate, like dark or white chocolate kisses.
Pro Tips
- Ingredient Temperature: Ensure your peanut butter is at room temperature for easier mixing and a smoother cookie dough.
- Preventing Spreading: Chill the cookie dough for 30 minutes before baking to prevent the cookies from spreading too much.
- Perfectly Soft Cookies: To keep your cookies soft, underbake them slightly; they will continue to cook on the baking sheet after removal from the oven.
- Storage Tips: Store cooled cookies in an airtight container at room temperature for up to a week to maintain their freshness.
Variations
Nut-Free Alternatives for Cookie Dough
If you want a nut-free cookie, you can use sun butter. Sun butter comes from sunflower seeds. It has a nice taste and works well in cookies. You can swap one cup of creamy peanut butter with one cup of sun butter. This keeps the cookie texture similar. Just remember, the flavor will change a bit.
Flavor Enhancements and Add-ins
To make these cookies even better, try adding mix-ins. You can add chocolate chips or butterscotch chips. A half cup of chips will add a sweet touch. You can also try oats, which add a nice chewiness. Just mix these in when you combine the dry ingredients.
Creative Twists on Decorating
Decorating these cookies can be fun! You can drizzle melted chocolate on top for a fancy look. Use white chocolate for a nice contrast. You can also sprinkle sea salt on top for a sweet and salty flavor. Another idea is to use colored sprinkles for a festive feel. This makes the cookies perfect for parties or holidays.
Storage Info
Best Practices for Storing Cookies
To keep your Peanut Butter Blossom Cookies fresh, store them in an airtight container. This will help keep them soft and tasty. You can layer them with parchment paper to avoid sticking. For best results, keep them at room temperature. They usually stay fresh for about one week this way. If you want to enjoy them longer, consider freezing.
Freezing Cookies for Long-term Storage
Freezing your cookies is a smart move. Start by letting them cool completely. Then, place them in a single layer on a baking sheet. Freeze for about an hour until firm. After that, transfer them to a freezer-safe bag or container. Make sure to remove excess air to prevent freezer burn. These cookies can last up to three months in the freezer. When you crave one, just thaw it at room temperature or warm it in the oven.
How to Revive Stale Cookies
If your cookies become stale, don’t worry! You can bring them back to life. Place a slice of bread with the cookies in an airtight container. The bread will add moisture back into the cookies. Leave them together for a few hours or overnight. This simple trick can make your cookies taste fresh again. You can also warm them in the oven for a few minutes to restore their softness. Enjoy every bite!
FAQs
How to Make Peanut Butter Blossom Cookies Gluten-Free?
To make these cookies gluten-free, swap the all-purpose flour for a gluten-free blend. Look for a mix that includes xanthan gum, which helps with texture. Measure the flour just like you would regular flour. Follow the same steps in the recipe. You can enjoy the same soft and chewy cookies without gluten!
Can I Use Natural Peanut Butter Instead?
Yes, you can use natural peanut butter. It gives cookies a richer, nuttier taste. Just make sure to stir it well to mix in the oils. Natural peanut butter can make the dough a bit thinner. You may need to add a tablespoon or two more of flour to get the right texture.
What Makes Cookies Chewy or Crunchy?
Cookies become chewy when you use more brown sugar. This sugar adds moisture. Adding an egg will also help create a chewy texture. For crunchier cookies, use more white sugar and bake them longer. The edges should brown a bit. Adjust these ingredients to fit your cookie dreams!
In this blog post, we explored how to make Peanut Butter Blossom Cookies. We covered the best ingredients, measured carefully for success, and shared practical tips for baking. I also discussed fun variations and how to store your cookies for freshness.
Baking is about trying new things. Enjoy experimenting with flavors and techniques. With these tips, you can create perfect cookies every time. Happy bakin