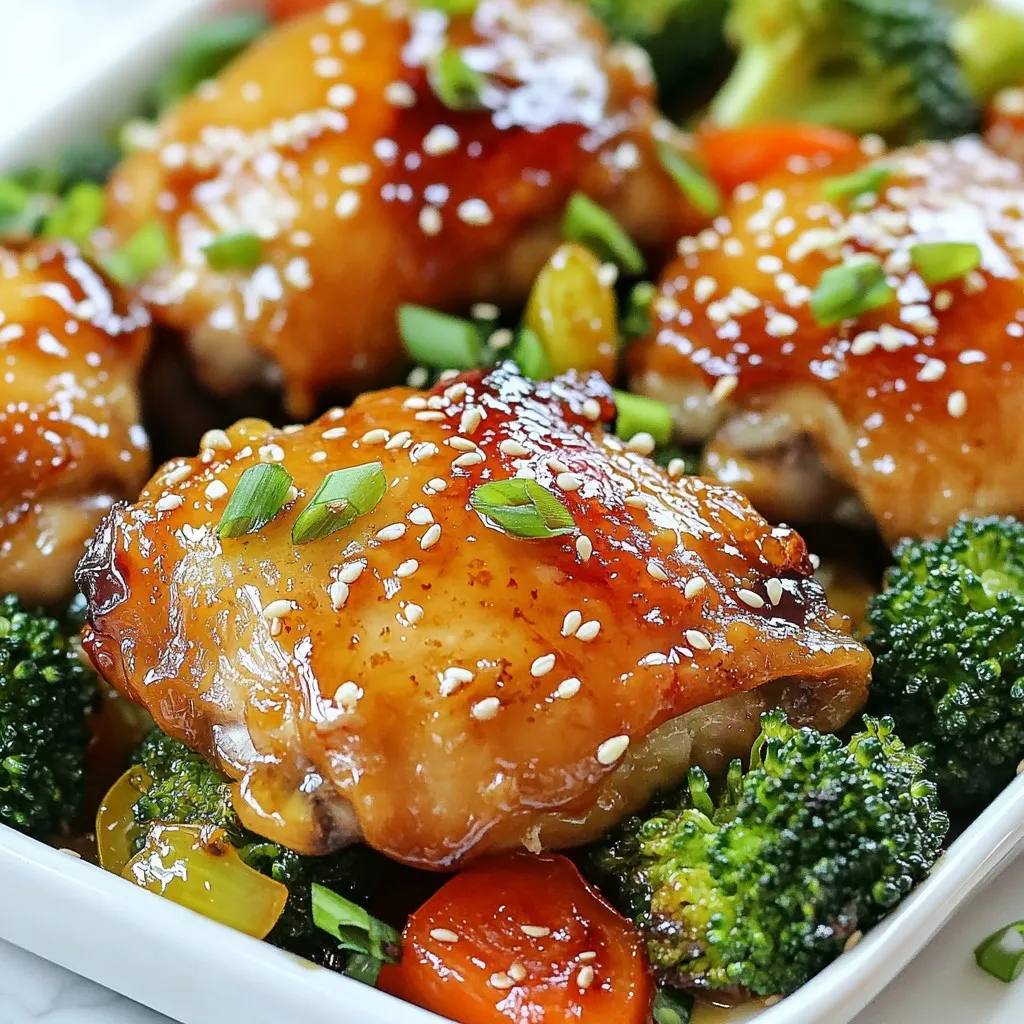
Looking for a quick, tasty dinner? You’ve found it! My One-Pan Honey Garlic Chicken Thighs are simple to make and packed with flavor. With just a few key ingredients, you can whip up a meal that impresses everyone. From the sweet honey to the savory garlic and colorful veggies, this dish is all about easy cooking with big taste. Let’s dive into the recipe that will have you and your family craving more!
Why I Love This Recipe
- Easy Preparation: This one-pan dish is simple to make, requiring minimal prep and cleanup, making it perfect for busy weeknights.
- Flavorful Marinade: The honey garlic marinade infuses the chicken and vegetables with a sweet and savory taste, ensuring every bite is delicious.
- Healthy Ingredients: With fresh vegetables like broccoli and bell peppers, this dish is not only tasty but also packed with nutrients.
- Rustic Presentation: Serving directly from the skillet adds a charming touch to your dining experience, making it feel cozy and inviting.
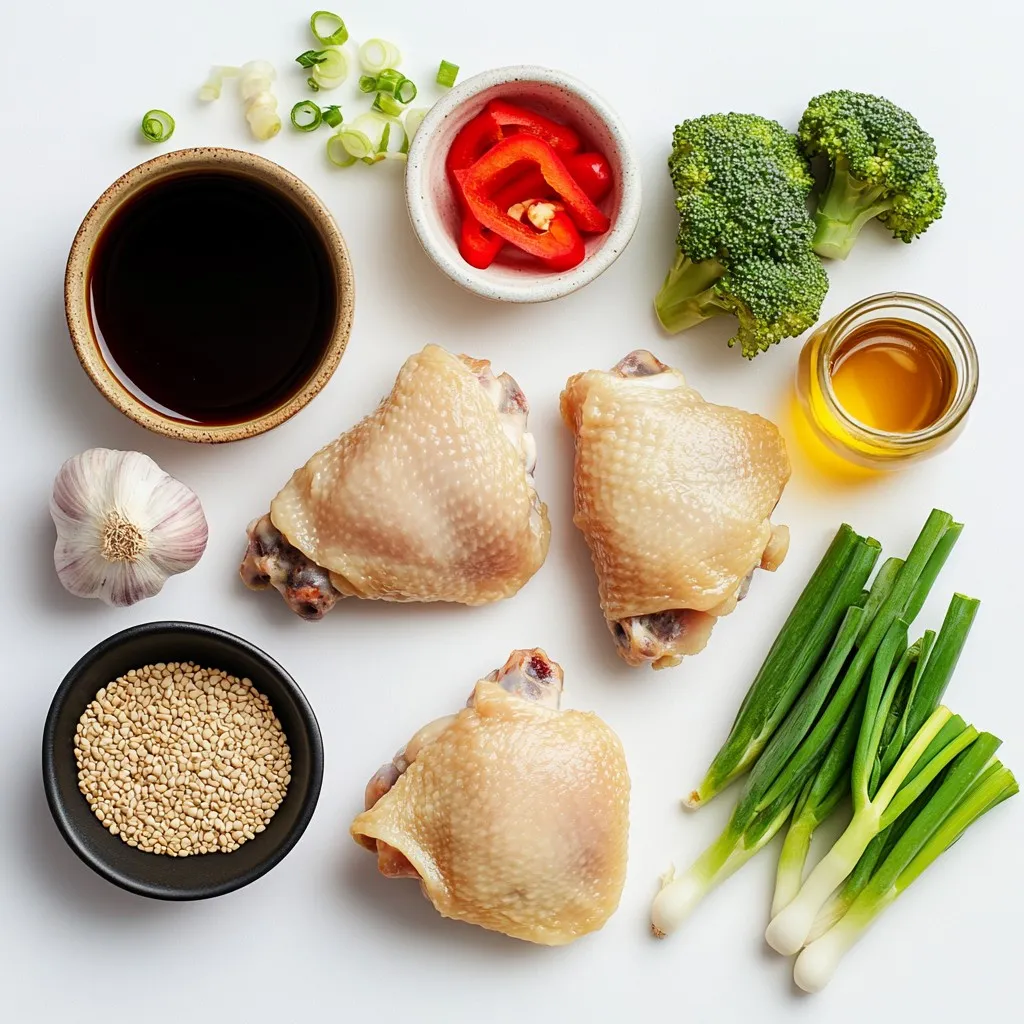
Ingredients
Main Ingredients
– 4 bone-in, skin-on chicken thighs
– 1/4 cup honey
– 4 cloves garlic, minced
– 2 cups fresh broccoli florets
– 1 red bell pepper, thinly sliced
The chicken thighs give this dish a rich flavor. The honey adds sweetness, while garlic brings depth. Broccoli and bell pepper add color and crunch, making it a well-balanced meal.
Seasonings and Oils
– 2 tablespoons soy sauce (or tamari for gluten-free)
– 1 tablespoon apple cider vinegar
– 1 teaspoon ground ginger
– 1 teaspoon sesame oil
– Salt and pepper, to taste
– 1 tablespoon olive oil
These seasonings create a tasty marinade that coats the chicken and veggies. Soy sauce adds umami, while apple cider vinegar balances the sweetness. Ground ginger gives a warm note, and sesame oil adds a nutty finish.
Garnishes
– Sesame seeds
– Chopped green onions
Garnishes like sesame seeds and chopped green onions make the dish pop. They add a nice crunch and fresh taste that enhances the overall flavor. Enjoy the aesthetics as much as the taste!
Step-by-Step Instructions
Preparation
1. Preheat your oven to 400°F (200°C). This will make sure your dish cooks evenly.
2. In a small bowl, mix together the honey, minced garlic, soy sauce, apple cider vinegar, ground ginger, and sesame oil. Add a pinch of salt and pepper. Whisk until it’s all blended. This will be your tasty marinade.
Cooking Process
1. Pat the chicken thighs dry using a paper towel. This helps the skin crisp up nicely. Season both sides of the chicken with salt and pepper.
2. Heat olive oil in a large oven-safe skillet over medium-high heat. Add the chicken thighs, skin-side down. Sear them for about 5-7 minutes until the skin turns golden brown and crispy.
3. Flip the thighs over carefully. Pour the honey garlic marinade over the chicken. Let it bubble for 2-3 minutes. This helps the flavors soak in.
4. Add the fresh broccoli florets and sliced red bell pepper around the chicken. Toss the veggies in the marinade to coat them well.
Baking
1. Move the skillet to the preheated oven. Bake for 25-30 minutes. The chicken should reach an internal temperature of 165°F (75°C).
2. After baking, take the skillet out and let it rest for about 5 minutes. This helps keep the chicken juicy. Drizzle any leftover sauce over the chicken and veggies.
3. Just before serving, sprinkle sesame seeds and chopped green onions on top for a fresh touch.
Tips & Tricks
Achieving Crispy Skin
To get chicken thighs with crispy skin, start by drying them well. Use a paper towel to pat them dry. This helps the skin crisp up when you cook it. Next, focus on your searing technique. Heat olive oil in a pan over medium-high heat. Place the chicken skin-side down and let it sear without moving it for 5 to 7 minutes. This browning adds flavor and texture.
Flavor Enhancements
Want to boost the flavor? You can add extra ingredients to your marinade. Consider adding a splash of orange juice or lime for a citrus kick. Fresh herbs like thyme or rosemary can also elevate the dish. For seasonings, try a pinch of red pepper flakes for a bit of heat. These small changes can make your dish stand out even more.
Resting the Chicken
Resting your chicken is very important. After cooking, let it sit for about 5 minutes. This gives the juices time to redistribute. If you skip this step, the chicken might dry out. To keep it moist, cover the chicken with foil while it rests. This simple step helps ensure you get tender, juicy chicken in every bite.
Pro Tips
- Pat the Chicken Dry: Ensure the chicken thighs are patted dry with a paper towel before seasoning. This helps achieve a crispy skin when searing.
- Marinate for Extra Flavor: If time allows, marinate the chicken thighs in the honey garlic mixture for at least 30 minutes before cooking. This enhances the depth of flavor.
- Use a Meat Thermometer: To ensure that the chicken is perfectly cooked, use a meat thermometer to check for an internal temperature of 165°F (75°C).
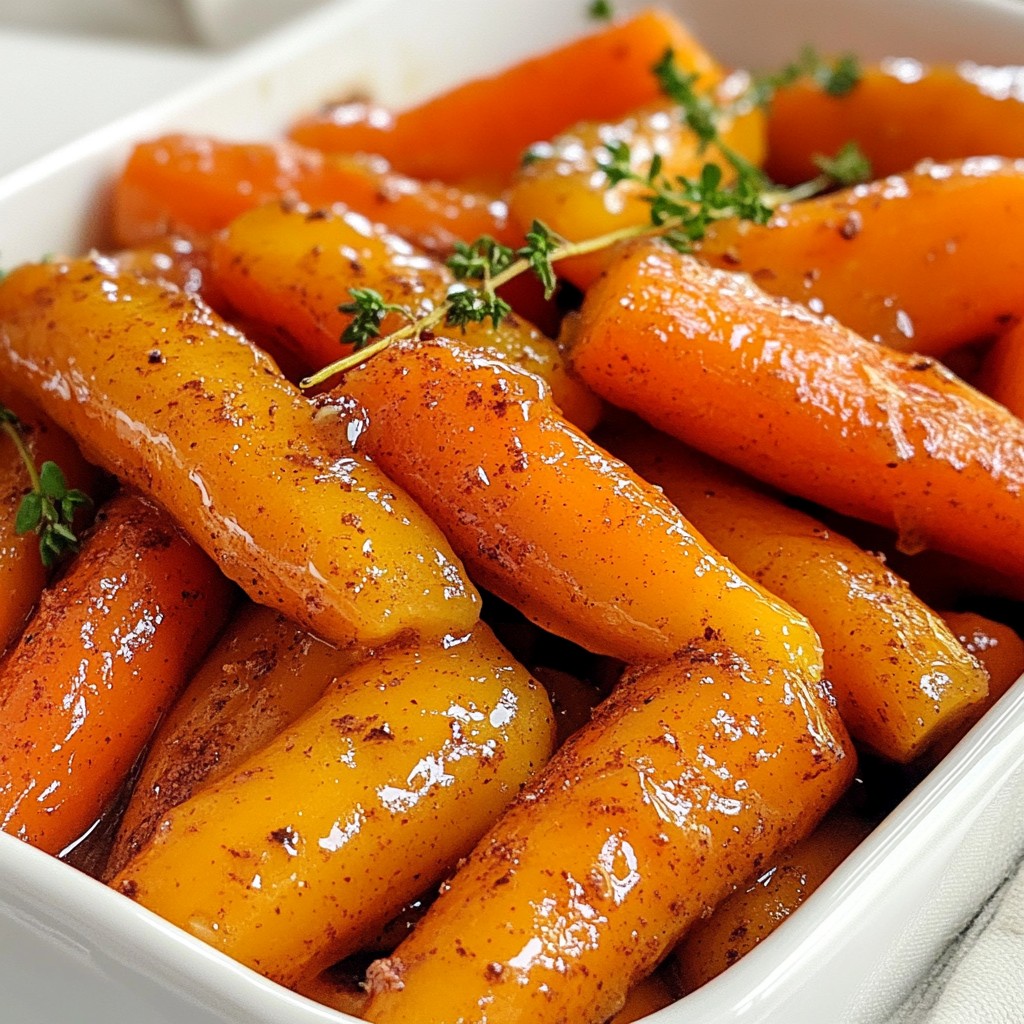
- Customize Your Vegetables: Feel free to swap the broccoli and bell pepper for other seasonal vegetables like snap peas or carrots for a different flavor and texture.
Variations
Ingredient Swaps
You can easily swap chicken thighs for chicken breasts. Chicken breasts cook faster, so check them sooner. For a dairy-free or gluten-free option, use tamari instead of soy sauce. This keeps the same great taste without the gluten.
Vegetable Alternatives
Feel free to mix in other vegetables. Carrots, snap peas, or green beans work well. You can also use seasonal veggies. In summer, try zucchini or bell peppers. In fall, butternut squash adds a lovely sweetness.
Flavor Profiles
Want a kick? Add a pinch of red pepper flakes or cayenne. This gives your dish a nice heat. If you like it sweeter, increase the honey to suit your taste. You can also add a splash of orange juice for a fruity twist.
Storage Info
Refrigeration
To store leftovers, let the dish cool down first. Place the chicken and vegetables in an airtight container. This keeps them fresh and safe to eat. You can store them in the fridge for up to three days. Use glass or plastic containers with tight lids for the best results.
Freezing Instructions
If you want to save some for later, freezing is a great option. Before you freeze, let the dish cool completely. Divide it into single servings. Use freezer-safe bags or containers. This makes it easy to grab a meal later. For meal prep, you can freeze up to three months.
When you’re ready to eat, take it out of the freezer. Place it in the fridge overnight to thaw. This helps keep the chicken tender and juicy.
Reheating Guidelines
To reheat, use the oven or microwave. If using the oven, preheat it to 350°F (175°C). Place the chicken on a baking sheet. Cover it with foil to keep it moist. Heat for about 20 minutes. If using a microwave, place the chicken in a microwave-safe dish. Heat in short bursts, checking often.
Make sure the internal temperature reaches 165°F (75°C). This ensures the chicken is safe to eat. By reheating this way, you maintain the texture and flavor that make this dish so tasty.
FAQs
How do I know when the chicken is done?
To check if the chicken is done, use a meat thermometer. Insert it into the thickest part of the thigh. The internal temperature should reach 165°F (75°C). This ensures the chicken is safe to eat. If you don’t have a thermometer, you can cut into the chicken. The juices should run clear, not pink.
Can I use boneless chicken thighs?
Yes, you can use boneless chicken thighs. They cook faster than bone-in thighs. Reduce the baking time to about 20-25 minutes. Always check the internal temperature to be sure it reaches 165°F (75°C). This keeps your dish safe and tasty.
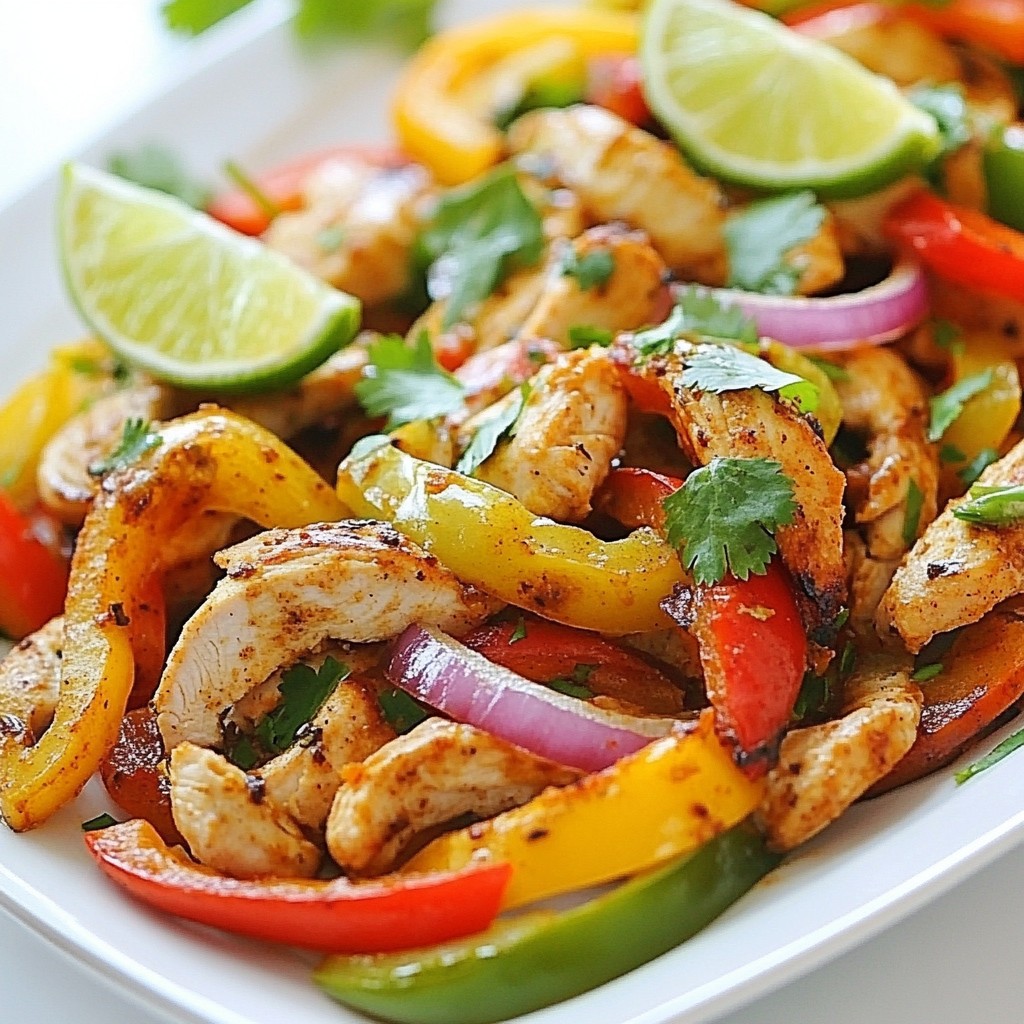
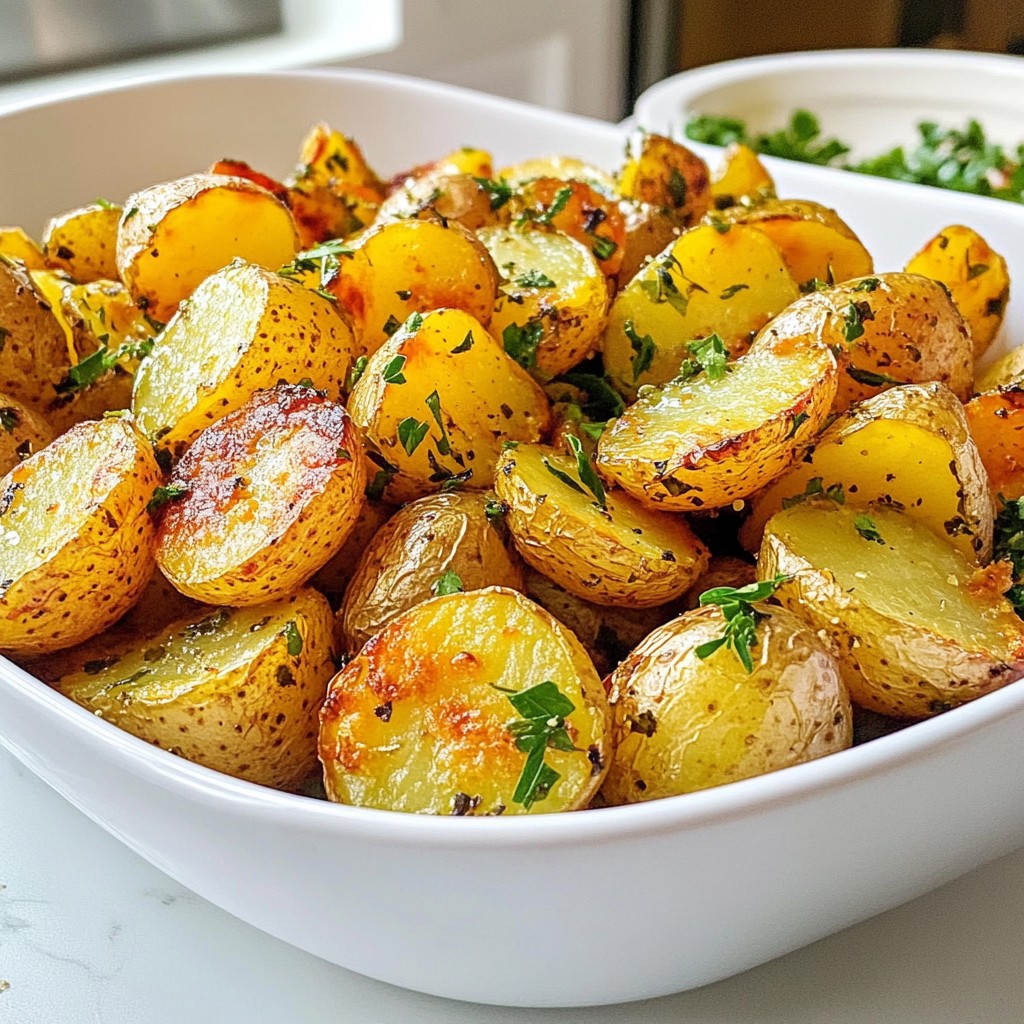
What to serve with One-Pan Honey Garlic Chicken Thighs?
For side dishes, I recommend steamed rice or quinoa. They soak up the sauce well. You can also add a fresh salad or roasted potatoes. These sides balance the meal and add texture. Enjoy the chicken right from the skillet for a cozy feel!
This blog post covered a delicious one-pan honey garlic chicken dish. You learned about the key ingredients like chicken thighs, honey, garlic, and vegetables. I shared step-by-step cooking instructions and tips for crispy skin and flavor boosts. You also saw options for ingredient swaps and how to store your meal leftovers.
In the end, cooking simple meals can be both fun and rewarding. Enjoy the process and experiment with flavors to make every meal special. You’ll impress yourself and others with your skills in the kitche