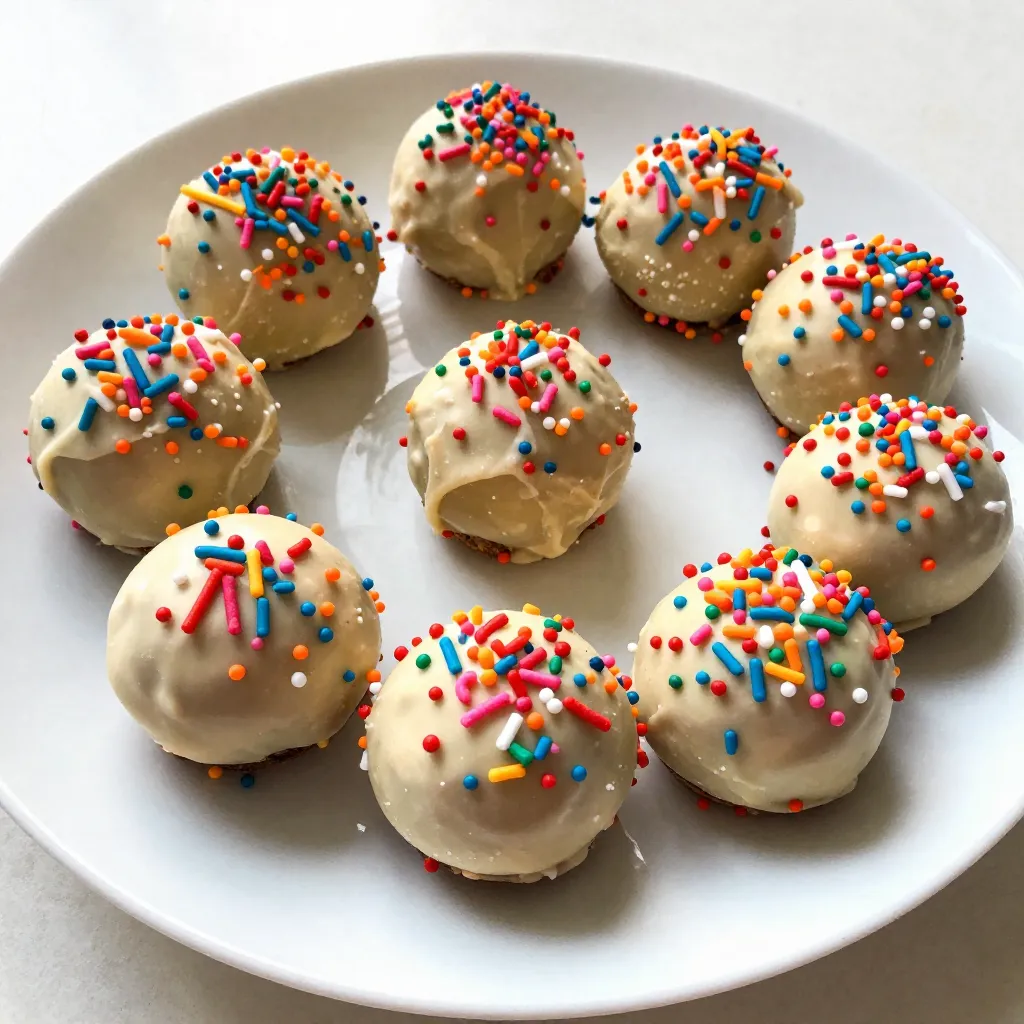
Looking for a fun and easy treat to celebrate your next birthday? I’ve got just the thing! No-Bake Birthday Cake Truffles are a sweet and simple dessert you can whip up in no time. You only need a few ingredients and minimal time to create these delightful bites. Whether you’re hosting a party or just treating yourself, these truffles are the perfect way to bring joy to any occasion. Let’s dive into the recipe!
Why I Love This Recipe
- Fun and Festive: These truffles are not only delicious but also bring a sense of celebration with their colorful sprinkles and cake flavor.
- Easy to Make: No baking is required, making this recipe quick and hassle-free, perfect for any last-minute party cravings.
- Customizable: You can easily tweak the flavors or decorations to suit your preferences or the theme of the event.
- Perfect for Sharing: These bite-sized treats are great for parties, allowing guests to enjoy a sweet snack without the need for utensils.
Ingredients
Required Ingredients
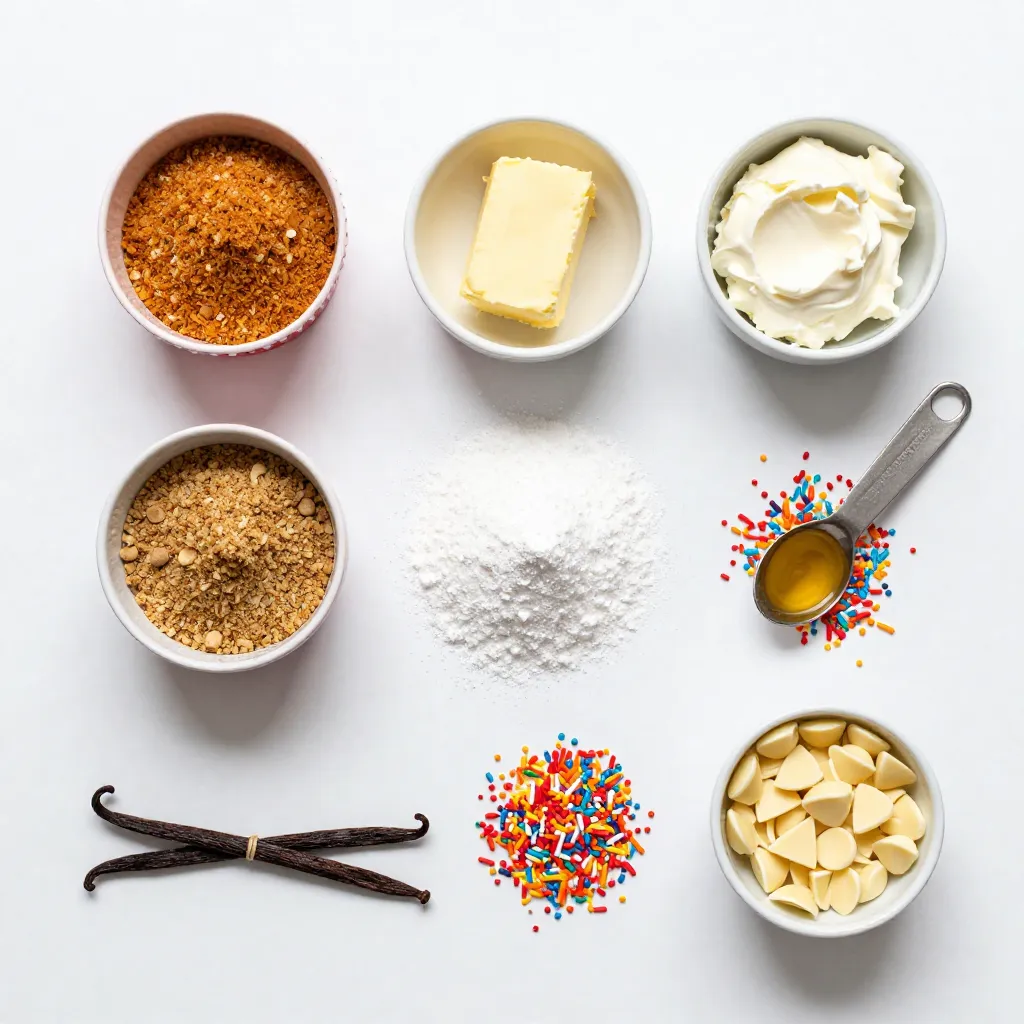
– 1 cup dry birthday cake mix
– 1/4 cup unsalted butter, softened
– 1/4 cup cream cheese, softened
– 1/4 cup powdered sugar
– 1/4 cup sprinkles (plus additional for coating)
– 1/2 teaspoon vanilla extract
– 1/2 cup white chocolate chips
These ingredients are key to making your no-bake birthday cake truffles. The dry birthday cake mix gives them that classic cake taste. The unsalted butter and cream cheese add richness and creaminess. Powdered sugar sweetens the mix, while vanilla gives it a warm flavor. Sprinkles are all about fun and color, making each truffle festive. Finally, the white chocolate chips coat the truffles, adding a creamy finish.
Gather everything before you start. It makes the process smooth and fun. You can even let your kids help with mixing and rolling. They will love the sprinkles and chocolate!
Step-by-Step Instructions
Preparation of Truffle Mixture
First, grab a mixing bowl. Add 1 cup of dry birthday cake mix, 1/4 cup of softened butter, and 1/4 cup of softened cream cheese. Mix these until they blend into a smooth dough. Next, add 1/4 cup of powdered sugar, 1/4 cup of sprinkles, and 1/2 teaspoon of vanilla extract. Stir it all together until every bit is well mixed.
Forming the Truffles
Now, wash your hands and scoop out some of the mixture. Roll it into small balls, about 1 inch wide. Place each ball on a parchment-lined baking sheet. Make sure they are not touching each other.
Chilling and Coating
Next, put the baking sheet in the fridge for about 30 minutes. This helps the truffles firm up. While they chill, melt 1/2 cup of white chocolate chips in a microwave-safe bowl. Heat in 30-second bursts, stirring in between until smooth. Once the truffles are firm, dip each one into the melted chocolate and let the extra drip off. Roll them in more sprinkles for fun. Put the coated truffles back on the baking sheet. Chill them again for another 15-20 minutes until the chocolate hardens.
Tips & Tricks
Perfecting Your Truffles
To make the best truffles, you need the right consistency. Start with the dough. It should feel soft but not sticky. If it’s too wet, add more cake mix. If it’s too dry, mix in a bit of cream cheese. This will help you form perfect balls.
For melting chocolate, I use the microwave. Place the white chocolate chips in a bowl. Heat them in 30-second bursts. Stir after each blast. This keeps the chocolate from burning. Once it’s smooth, you’re ready to coat your truffles.
Decorating Your Truffles
Sprinkles are a fun way to decorate your truffles. Use bright colors for a festive look. You can also mix different types of sprinkles for more fun.
If you want to change things up, try other coatings. Crushed nuts or cookie crumbs work great too. You could even use chocolate drizzle for an extra touch. This adds flavor and makes your truffles stand out!
Pro Tips
- Chill Your Dough: Allowing the mixture to chill for at least 30 minutes makes it easier to roll into perfect truffle shapes.
- Use a Cookie Scoop: For consistent sizing, use a cookie scoop to portion out the mixture before rolling into balls.
- Choose Quality Chocolate: Using high-quality white chocolate will enhance the flavor and texture of your truffles.
- Experiment with Flavors: Feel free to add flavor extracts like almond or lemon for a unique twist on the classic birthday cake taste.
Variations
Flavor Adaptations
You can have fun with flavors! Start by using different cake mix flavors. Try chocolate, vanilla, or even red velvet for a twist. Each flavor adds a new taste to your truffles. If you want a richer taste, substitute white chocolate with milk or dark chocolate. This change gives a deeper flavor, perfect for chocolate lovers.
Dietary Modifications
If you need gluten-free truffles, simply use gluten-free cake mix. Many brands offer great options. For a vegan version, replace butter with coconut oil and use vegan cream cheese. You can also swap the white chocolate for dairy-free chocolate chips. If you want low-sugar truffles, try using sugar-free cake mix and swap powdered sugar for a low-calorie sweetener. These easy swaps let everyone enjoy a tasty treat!
Storage Info
Best Practices for Storage
To keep your no-bake birthday cake truffles fresh, store them in the refrigerator. Place the truffles in an airtight container. You can also use plastic wrap to cover them if you prefer. This method helps keep them moist and tasty.
Your truffles will stay fresh for about one week in the fridge. After that, they may lose their flavor and texture. Always check for any signs of spoilage before enjoying them.
Freezing Truffles
If you want to save your truffles for later, freezing is a great option. First, place the truffles in a single layer on a baking sheet. Freeze them for about 1 hour until they are firm.
Once frozen, transfer the truffles to a freezer-safe bag. Squeeze out as much air as possible before sealing the bag. This will help keep them from getting freezer burn.
When you are ready to enjoy your truffles, just take them out of the freezer. Let them thaw in the fridge for a few hours or on the counter for about 30 minutes. Avoid thawing them in the microwave. This can ruin their texture and taste.
FAQs
Common Questions
Can I use leftover cake instead?
Yes, you can use leftover cake! Crumble the cake into fine pieces. Mix it with cream cheese and powdered sugar. This makes a great base for your truffles. Just remember to adjust the amounts if needed.
How long do the truffles last?
These truffles can last up to one week in the fridge. Store them in an airtight container. If you want them to last longer, you can freeze them for up to three months.
Can kids help make these truffles?
Absolutely! Kids can have fun mixing and rolling the truffles. Just be sure to supervise them when melting the chocolate. It’s a great way to bond and create tasty treats together.
Troubleshooting
What if my truffles are too sticky?
If your truffles are too sticky, chill the mixture longer. This will help firm it up. You can also add a bit more cake mix or powdered sugar to make it easier to roll.
How to fix chocolate that won’t melt properly?
If your chocolate won’t melt, check your microwave settings. Heat it in shorter bursts, stirring in between. If it looks clumpy, add a small amount of vegetable oil. This helps it melt smoothly.
You learned how to make fun birthday cake truffles. We discussed the key ingredients and the steps to mix, form, chill, and coat these treats. I shared tips to perfect your truffles and offered ways to get creative with flavors. Don’t forget about storage methods to keep them fresh! You can even adjust the recipe to fit dietary needs. Get ready to enjoy your tasty creations or share them with friend