Welcome to a delightful baking adventure! Today, I’m sharing my recipe for Cranberry Orange Scones that are fresh, flavorful, and sure to brighten your day. If you love the perfect mix of sweet and tart, these scones will hit the spot. Ready to impress your family and friends? Let’s get started with the ingredients and take your taste buds on a delicious journey!
Why I Love This Recipe
- Bright and Flavorful: The combination of cranberries and orange zest creates a delightful contrast of tartness and sweetness, making each scone a burst of flavor.
- Easy to Make: This recipe is straightforward and requires minimal effort, perfect for both beginners and seasoned bakers looking for a quick treat.
- Perfect for Any Occasion: Whether it’s a cozy brunch, a holiday gathering, or just a treat for yourself, these scones are a versatile addition to any table.
- Glazed Goodness: The fresh orange glaze adds a beautiful finish and an extra layer of flavor that elevates the scones to a whole new level.
Ingredients
Making cranberry orange scones is easy when you have the right ingredients. Here’s what you need:
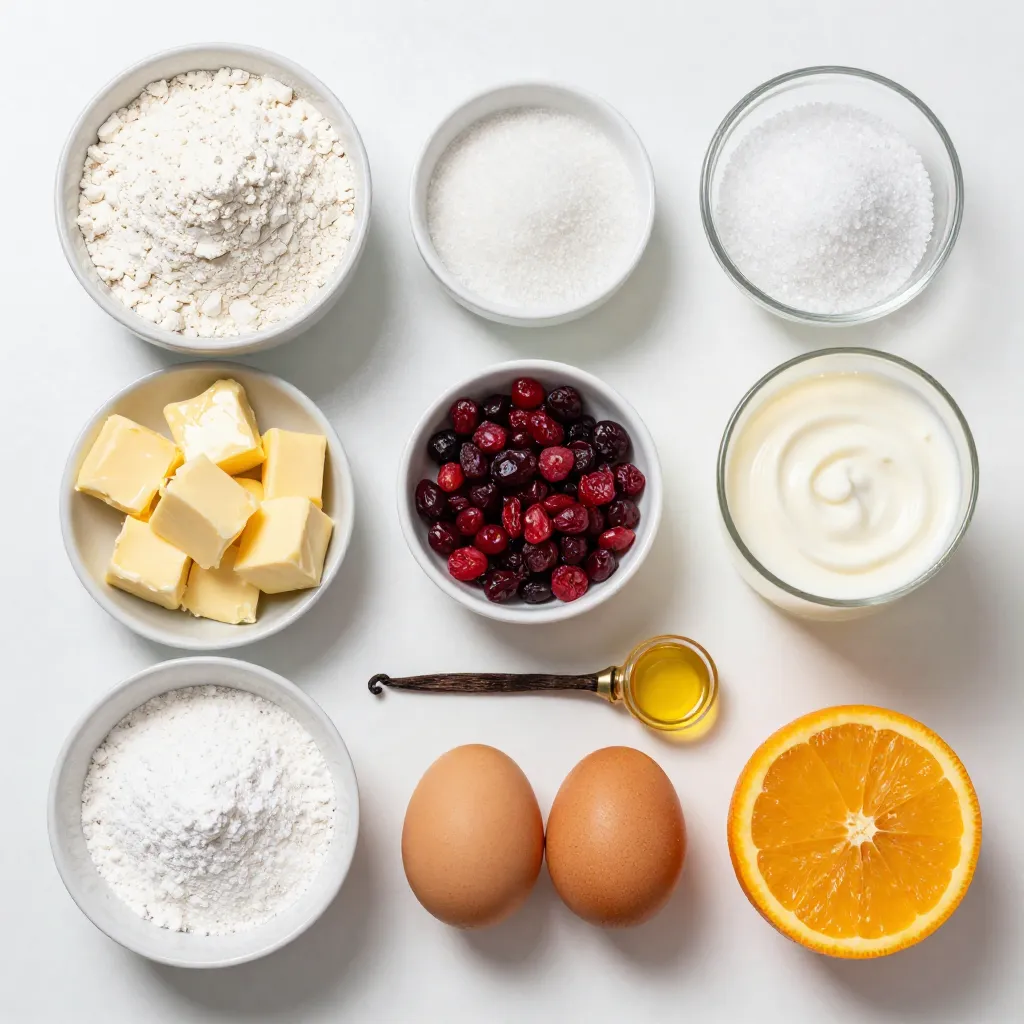
– 2 cups all-purpose flour
– 1/3 cup granulated sugar
– 1 tablespoon baking powder
– 1/2 teaspoon salt
– 1/2 cup unsalted butter (chilled and cubed)
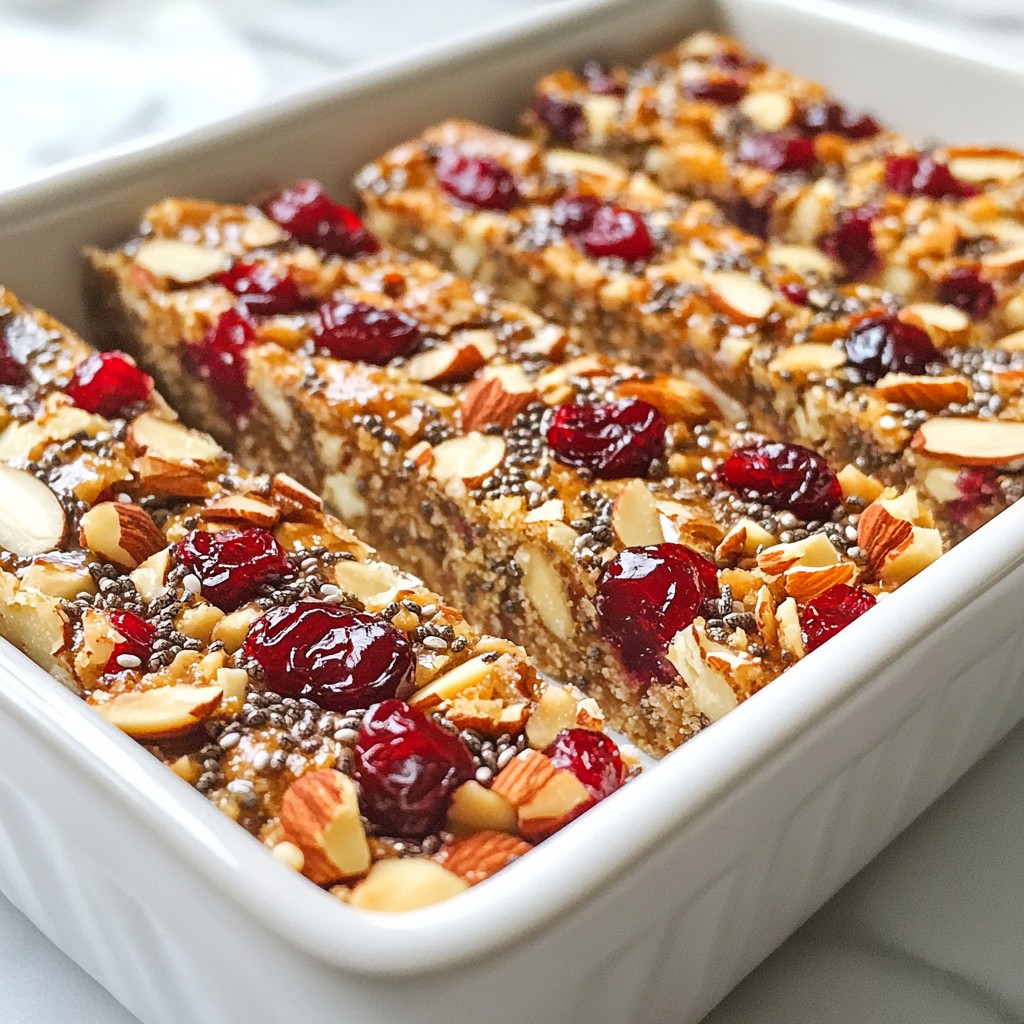
– 1/2 cup dried cranberries
– Zest of 1 medium orange
– 1/2 cup heavy cream
– 1 large egg
– 1 teaspoon pure vanilla extract
– 1/2 cup powdered sugar (for glaze)
– 1-2 tablespoons fresh orange juice (for glaze)
Each ingredient plays a key role. The flour forms the base, while sugar adds sweetness. Baking powder helps the scones rise, creating a light texture. Salt enhances the flavors, while chilled butter gives that flaky quality. Dried cranberries provide a tart burst, and orange zest adds a fresh, citrus note. Heavy cream and egg bind everything together. Finally, the glaze, made from powdered sugar and orange juice, brings a sweet finish.
With these ingredients on hand, you’re ready to bake delicious cranberry orange scones!
Step-by-Step Instructions
Preheat the Oven
Start by preheating your oven to 400°F (200°C). This step is key for baking. Line a baking sheet with parchment paper. This helps prevent the scones from sticking.
Mix Dry Ingredients
In a large bowl, whisk together the following dry ingredients:
– 2 cups all-purpose flour
– 1/3 cup granulated sugar
– 1 tablespoon baking powder
– 1/2 teaspoon salt
Mix well until everything is combined. This helps the scones rise nicely.
Cut in the Butter
Next, add 1/2 cup of chilled, cubed butter to your dry mix. Use a pastry cutter or your fingers to blend the butter in. You want it to look like coarse crumbs. Make sure there are small pieces of butter throughout the mixture. This adds flakiness.
Add Cranberries and Zest
Now, gently fold in:
– 1/2 cup dried cranberries
– Zest of 1 medium orange
Make sure they are evenly spread in the mix. This adds a burst of flavor.
Combine Wet Ingredients
In a separate bowl, whisk together:
– 1/2 cup heavy cream
– 1 large egg
– 1 teaspoon pure vanilla extract
Mix until it is smooth. This will be your wet mixture.
Form the Dough
Gradually pour the wet mixture into the dry ingredients. Use a spatula or wooden spoon to stir gently. Stop as soon as it comes together. The dough should look shaggy and moist, not overmixed.
Shape the Scones
Transfer the dough to a lightly floured surface. Knead it gently for about 30 seconds. This helps it hold together. Shape the dough into a circle about 1 inch thick. Cut the circle into 8 wedges. Place the wedges on your prepared baking sheet, leaving space between them.
Bake
Slide the baking sheet into your preheated oven. Bake the scones for 15-18 minutes. They should be lightly golden on top. A toothpick should come out clean when inserted.
Prepare the Glaze
While the scones bake, make the glaze. In a small bowl, whisk together:
– 1/2 cup powdered sugar
– 1-2 tablespoons fresh orange juice
Mix until it is smooth and pourable. Adjust with more juice or sugar if needed.
Glaze the Scones
After baking, take the scones out of the oven. Let them cool on the baking sheet for about 5 minutes. Drizzle the glaze over the warm scones. Allow it to run down the sides for a beautiful finish.
Tips & Tricks
Perfecting the Scone Texture
For light and fluffy scones, the texture matters. Start with cold, cubed butter. Chilling the butter helps keep it solid. This creates tiny pockets of air. These pockets make your scones rise well. When mixing, stop when the dough is just combined. A shaggy dough is perfect. It will bake into a soft scone.
How to Avoid Overmixing
Overmixing can make scones dense. When you combine wet and dry ingredients, mix gently. Use a spatula or wooden spoon. Fold the mixture a few times until it comes together. It’s okay if it looks rough. Remember, the key is to keep the dough moist but not sticky.
Presentation Tips
To make your scones look great, serve them warm. A tiered serving stand adds charm. Dust them with extra powdered sugar for a sweet touch. Place fresh cranberries and orange slices around them. This makes your scones pop with color and adds a festive feel.
Pro Tips
- Chill Your Ingredients: Make sure your butter and heavy cream are well-chilled. This helps create flaky scones by keeping the butter from melting before baking.
- Don’t Overmix: When combining the wet and dry ingredients, mix just until combined. Overmixing can result in tough scones instead of tender ones.
- Use Fresh Ingredients: For the best flavor, use fresh zest from a medium orange and high-quality dried cranberries. They enhance the overall taste of the scones.
- Adjust the Glaze Consistency: If the glaze is too thick, add a bit more orange juice to achieve a smooth, pourable consistency for a beautiful finish on your scones.
Variations
Add-Ins for Custom Flavor
You can easily change the flavor of your cranberry orange scones. Here are a few ideas:
– Nuts: Add 1/2 cup of chopped walnuts or pecans for crunch.
– Chocolate: Mix in 1/2 cup of dark chocolate chips for a sweet twist.
– Spices: A dash of cinnamon or nutmeg can enhance the flavor.
– Fruit: Swap cranberries for dried cherries or blueberries for a different taste.
Dietary Adjustments (Vegan, Gluten-Free)
Making scones fit your diet is simple. For vegan scones:
– Replace butter with coconut oil or vegan butter.
– Use almond milk instead of heavy cream.
– Choose a flax egg (1 tablespoon ground flaxseed mixed with 2.5 tablespoons water) instead of an egg.
For gluten-free scones:
– Use a 1:1 gluten-free flour blend.
– Make sure all other ingredients are gluten-free.
Seasonal Variations
You can make these scones fit any season. In fall, add pumpkin spice or chopped apples. In winter, use fresh cranberries and orange zest for a festive touch. In spring, incorporate fresh herbs like rosemary or mint for a bright flavor. For summer, berries like strawberries or raspberries work well. Each season brings new ideas to keep your scones fresh and exciting!
Storage Information
How to Store Leftover Scones
To keep your scones fresh, store them in an airtight container. Place parchment paper between layers to prevent sticking. They will stay fresh for about 2 days at room temperature. If you want to keep them longer, consider freezing.
Freezing Instructions
To freeze your scones, let them cool completely. Wrap each scone tightly in plastic wrap. Place the wrapped scones in a freezer-safe bag or container. They can last up to 3 months in the freezer. When you’re ready to enjoy them, just thaw and reheat.
Reheating Tips
To reheat your scones, preheat your oven to 350°F (175°C). Place the scones on a baking sheet. Heat for about 5-10 minutes until warm. You can also use a microwave. Heat them in 15-second intervals until warm. Enjoy your scones warm for the best flavor!
FAQs
What can I use instead of dried cranberries?
You can use many options. Try raisins or chopped dried cherries. Apricots or figs work well too. Fresh berries can add a new twist, but they change the moisture.
Can I make scones the night before?
Yes, you can! Prepare the dough and shape it into wedges. Then, cover and refrigerate overnight. In the morning, bake them straight from the fridge. This saves time and gives you fresh scones.
How do I know when scones are done baking?
Scones are done when they are golden brown on top. Insert a toothpick into the center; it should come out clean. The scones should feel firm but soft when you touch them.
You learned how to make delicious scones with simple steps. We covered the basic ingredients and how to mix them. I shared tips to perfect their texture and ways to customize flavors. You now know how to store and reheat these treats. Enjoy your scones fresh or try variations as you like. Baking should be fun, so get creative! Happy bakin