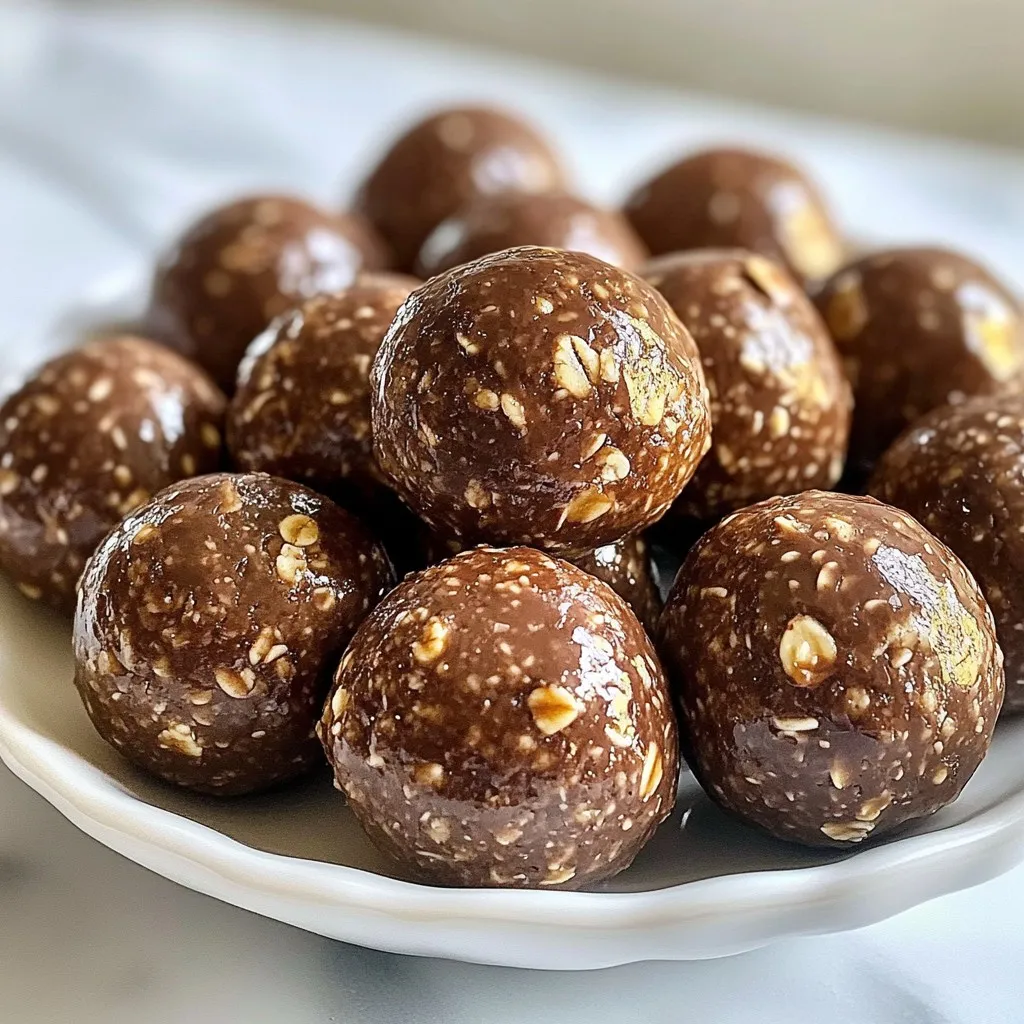
Looking for a healthy snack that’s quick to make and delicious to eat? Chocolate Peanut Butter Energy Balls are the perfect choice! Packed with wholesome ingredients, these bites will power your day without the guilt. In this post, I’ll share my simple recipe, tips for variations, and storage advice. Get ready to indulge in a tasty treat that boosts your energy and satisfies your cravings!
Why I Love This Recipe
- Quick and Easy Preparation: This recipe takes just 10 minutes to prepare, making it a convenient option for busy days.
- Nutritious Ingredients: Packed with rolled oats, flaxseed, and peanut butter, these energy balls provide a healthy source of protein and fiber.
- Customizable Flavor: You can easily swap in different nut butters or add-ins like dried fruit or nuts to create your own unique flavor combinations.
- Perfect Snack for Any Occasion: Whether you need a post-workout boost or a sweet treat for lunchboxes, these energy balls fit the bill!
Ingredients
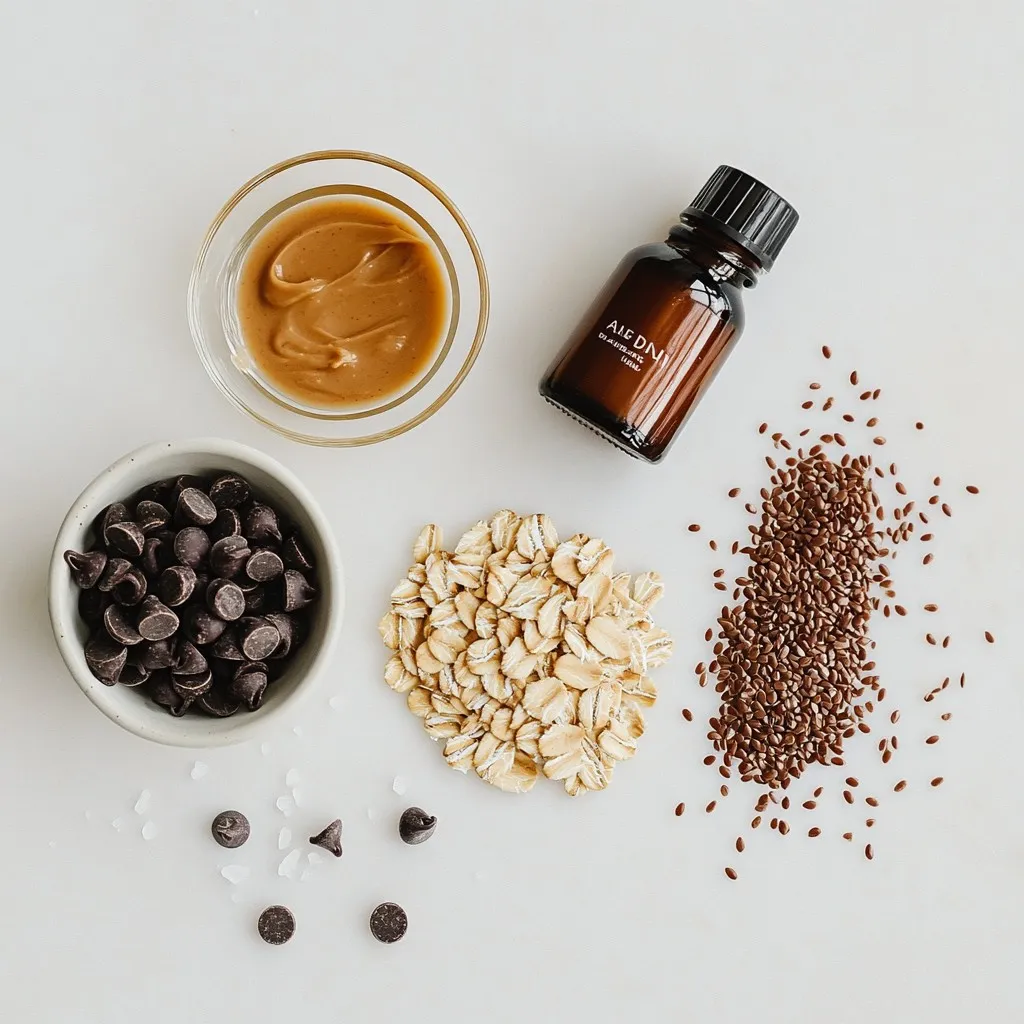
List of Main Ingredients
– 1 cup rolled oats
– 1/2 cup natural peanut butter
– 1/4 cup honey or maple syrup
– 1/3 cup dark chocolate chips
– 1/4 cup ground flaxseed
– 1/2 teaspoon vanilla extract
– Pinch of sea salt
These ingredients form the base of your Chocolate Peanut Butter Energy Balls. Each one plays an important role in flavor and texture. Rolled oats provide a great source of fiber, helping you feel full. Natural peanut butter adds healthy fats and a rich taste. Honey or maple syrup gives sweetness and binds the mixture. Dark chocolate chips bring a touch of indulgence, while ground flaxseed adds omega-3 fatty acids.
Optional Add-ins
– Protein powder
– Chia seeds
– Shredded coconut
These optional add-ins can boost nutrition. Protein powder enhances your energy boost, making them perfect after workouts. Chia seeds add fiber and omega-3s, while shredded coconut offers a tropical twist. Feel free to mix and match to fit your taste and dietary needs.
Step-by-Step Instructions
Preparing the Dry Ingredients
In a large mixing bowl, combine:
– 1 cup rolled oats
– 1/4 cup ground flaxseed
– Pinch of sea salt
Use a spoon to stir until mixed well. This mix brings fiber and healthy fats.
Mixing the Wet Ingredients
In another bowl, blend together:
– 1/2 cup natural peanut butter
– 1/4 cup honey or maple syrup
– 1/2 teaspoon vanilla extract
Whisk until smooth and creamy. This mix adds sweetness and flavor.
Combining Mixtures
Now, pour the wet mix into the dry mix. Stir with a spatula until everything combines. The mix will feel sticky and cohesive.
Next, fold in:
– 1/3 cup dark chocolate chips
This gives a rich chocolate flavor in every bite.
Forming the Energy Balls
With clean hands, scoop small portions of the mix. Roll each portion into bite-sized balls, about 1 inch wide. You can wet your hands slightly to help roll them easier.
Place the rolled energy balls on a baking sheet lined with parchment paper. Make sure to space them out.
Chilling and Storing
Put the baking sheet in the refrigerator. Chill the energy balls for 30 minutes to help them set.
After chilling, transfer them to an airtight container. Store in the fridge for up to one week. These make a great snack anytime!
Tips & Tricks
Achieving the Perfect Consistency
To get the right texture, adjust the wet and dry ingredients. If your mixture is too dry, add a bit more peanut butter or honey. If it feels too sticky, add more oats or flaxseed. This way, you can make the energy balls just how you like them.
Flavor Enhancements
You can make these energy balls even tastier. Try adding a sprinkle of cinnamon or nutmeg. These spices add warmth and depth to the flavor. You can also swap in some vanilla protein powder for a fun twist.
Preventing Sticking
When rolling the mixture into balls, it’s best to keep your hands slightly wet. This helps prevent the mixture from sticking to your fingers. You can also use a small scoop to portion out the mixture. This way, each ball will be even and neat, making less mess in the process.
Pro Tips
- Use Old-Fashioned Rolled Oats: For the best texture and flavor, stick with old-fashioned rolled oats instead of quick oats. They hold their shape and provide a hearty bite.
- Experiment with Nut Butters: While peanut butter is delicious, try substituting with almond butter or sunflower seed butter for a unique twist on the flavor profile.
- Sweetener Alternatives: If you prefer a lower glycemic index sweetener, maple syrup is a great option. You can also adjust the sweetness to your preference by adding more or less sweetener.
- Chill for Better Texture: Allowing the energy balls to chill in the refrigerator not only helps them firm up but also enhances the flavors. Don’t skip this step!
Variations
Flavor Variations
You can switch things up with different flavors. Try using almond butter instead of peanut butter. This change gives a unique taste. If you want a sweeter twist, use white chocolate chips instead of dark chocolate. This swap adds a creamy, sweet flavor that many enjoy.
Dietary Adjustments
If you follow a vegan diet, use maple syrup instead of honey. This keeps the recipe plant-based and tasty. For those needing gluten-free options, use certified gluten-free oats. This choice makes the energy balls safe for everyone to enjoy without worry.
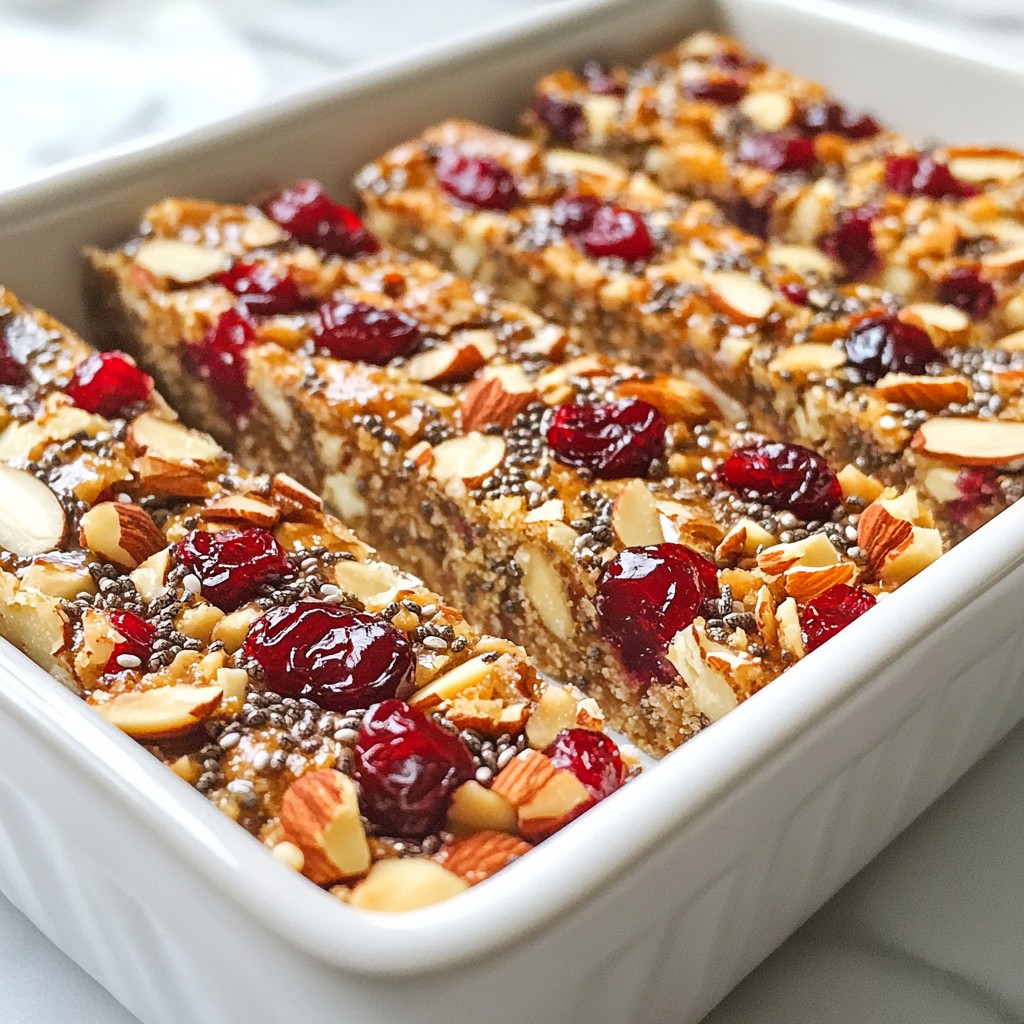
Seasonal Add-ins
Get creative with seasonal ingredients! Adding dried fruits, like cranberries or apricots, enhances the flavor and texture. Chopped nuts, such as almonds or walnuts, also provide a nice crunch. These additions make your energy balls even more fun and delicious!
Storage Info
Best Storage Practices
For the best storage, I recommend using airtight containers. They keep the energy balls fresh and moist. Ziplock bags are also good, but they may let air in over time. If you want to keep them for longer, go with airtight containers. This way, you avoid any freezer burn or dry spots.
Shelf Life Recommendations
In the fridge, these energy balls can stay fresh for up to one week. This makes them a perfect snack for busy days or after workouts. Just make sure you seal them well to keep them tasty. If you notice any changes in smell or texture, it’s best to toss them out.
Freezing Options
If you want to store them longer, freezing is a great choice. To freeze, place the energy balls on a baking sheet. Make sure they are not touching each other. Freeze them for about two hours until firm. After that, transfer them to an airtight container or a ziplock bag. They can last up to three months in the freezer. To enjoy, simply take out what you need and let them thaw in the fridge overnight.
FAQs
How long do Chocolate Peanut Butter Energy Balls last?
Chocolate peanut butter energy balls can last up to one week in the fridge. Store them in an airtight container to keep them fresh. If you want to enjoy them longer, consider freezing them. They freeze well and can last for up to three months. Just thaw them in the fridge before eating.
Can I make these energy balls without honey?
Yes, you can make these energy balls without honey. You can use maple syrup instead. It offers a similar sweetness and works well in the recipe. If you want a sugar-free option, try mashed bananas or dates. These will add sweetness without using honey.
What can I substitute for peanut butter?
There are several great substitutes for peanut butter. Almond butter and cashew butter are popular choices. They both have a similar texture and flavor. You can also try sunflower seed butter for a nut-free option. This works well for those with allergies.
Are these energy balls suitable for kids?
Absolutely! These energy balls are a great snack for kids. They are healthy, tasty, and easy to make. Plus, kids love the chocolate chips! You can even involve them in the making process. It’s a fun way to teach them about healthy eating.
Can I add protein powder to the recipe?
Yes, you can add protein powder to the recipe. This addition boosts the protein content and makes it even more filling. Start with a small amount, about one or two tablespoons. Mix it well with the dry ingredients for an even texture.
These energy balls are easy to make with simple ingredients. We covered the key components, step-by-step instructions, and helpful tips. You can customize them with different flavors and dietary needs.
Ultimately, this recipe is great for a quick snack, and they keep well. Enjoy making them and get creative with your own variation